
Did You Clean Your Gutters Out
These cold-weather home tips are hands-on experiences that I have encountered over the years.
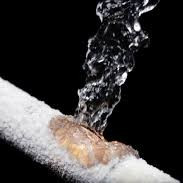
Cold weather brings with it a list of do’s and don’ts to keep expensive and labor-intensive repairs from happening or worsening their impact. Freezing weather has its own way of bringing along headaches like frozen and busted plumbing pipes. No Fun!
The timing of these cold-weather failures is going to be at the worst opportune time, of course, which is only going to complicate matters. The mention of below-freezing weather and plumbing in the same sentence can bring to mind some pretty miserable memories, but you know I worked through it just as I am sure you have somewhere down the line.

Yes, memories of my upper torso snaked into a too small of an access hole and my lower extremities trying to get traction in the freezing mud, are not pleasant ones. Thank goodness for insulated coveralls! I am sure a lot of you out there have been in similar situations and made it just fine.
Ideally, it pays to plan ahead for these events by first recognizing the areas that are apt to freeze in an extended period of below-freezing weather. Once you have located these areas, or if you’ve had problems in the same areas previously, here are a few things you can do to insure or “insulate” against them.
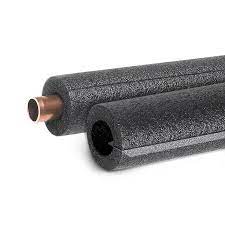
Yes, insulation can be your itchy friend, but the tubular foam pipe sleeves can also be part of your preparedness. There are a lot of products out there–including pipe wrap that you plugin to keep the pipes just warm enough to prevent freezing. That type may also come with a sensor that turns the wrap on and off automatically when the temperature changes.
Simple Fix
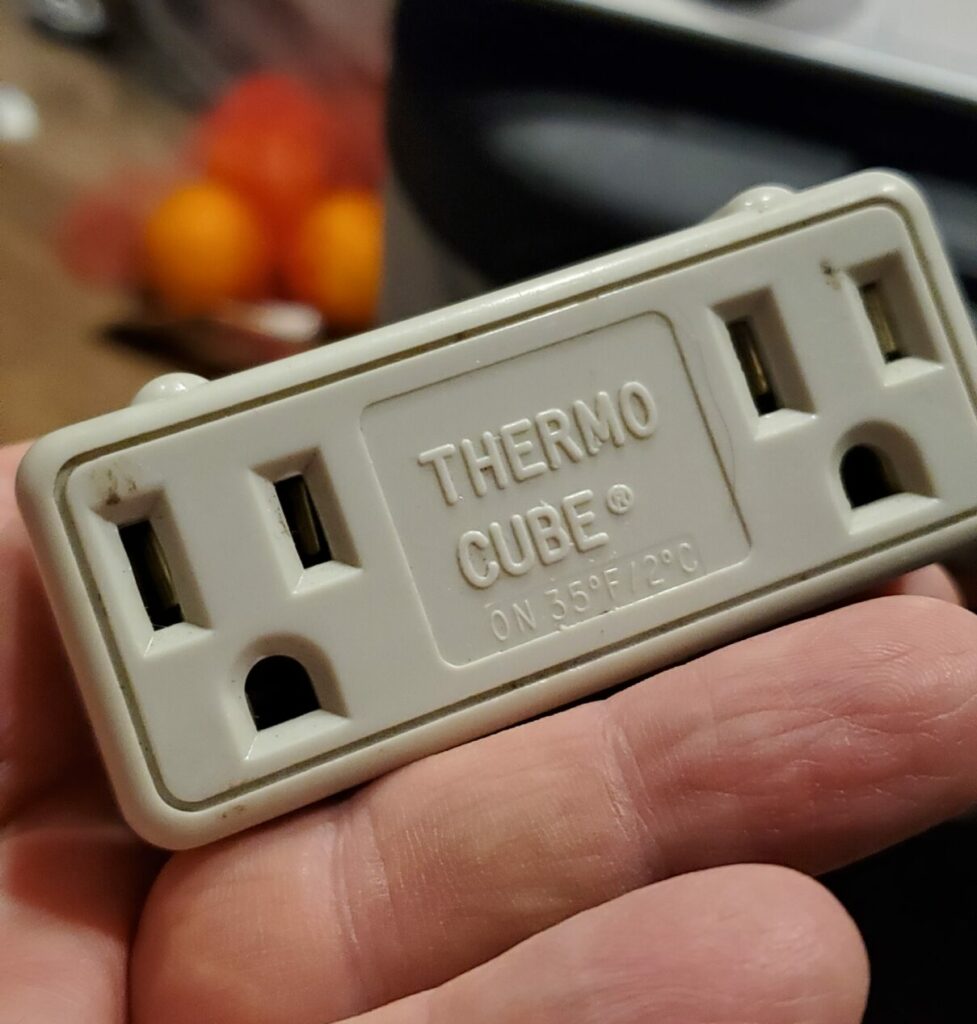
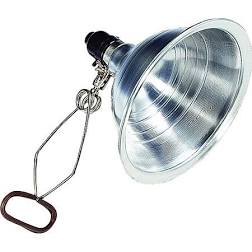
I once lived in a home that had a small, separate block well house. I ran electricity to the well house and installed a receptacle inside. I then bought one of those clip-on light sockets, along with a plugin thermostat, that opened and closed with the temperature. I plugged the light into it and would check every couple of days during cold weather, to see if the 100-watt bulb was still burning.
One story I have to tell you was the night I came home from my second shift job and saw water running down the alley. Yes…it was coming from MY PLACE! Once again, I found myself half in and half out of that access hole, finally locating the busted pipe. All I could find was a piece of rubber hose from a recent car heater repair I had saved. Best save ever!!! That hose lasted for years and would freeze from time to time but never busted.
No Glue – No Solder
If you have made a repair that could be better, or want to do an upgrade on an area that may be subject to freeze, I would suggest this summer you look into using Pex. It’s a type of flexible plastic tubing that can freeze and expand, but not burst. You have to purchase some fittings and fasteners that are specific to the Pex line, along with a tool that makes connections pressure and watertight, but no glue and no soldering is needed.


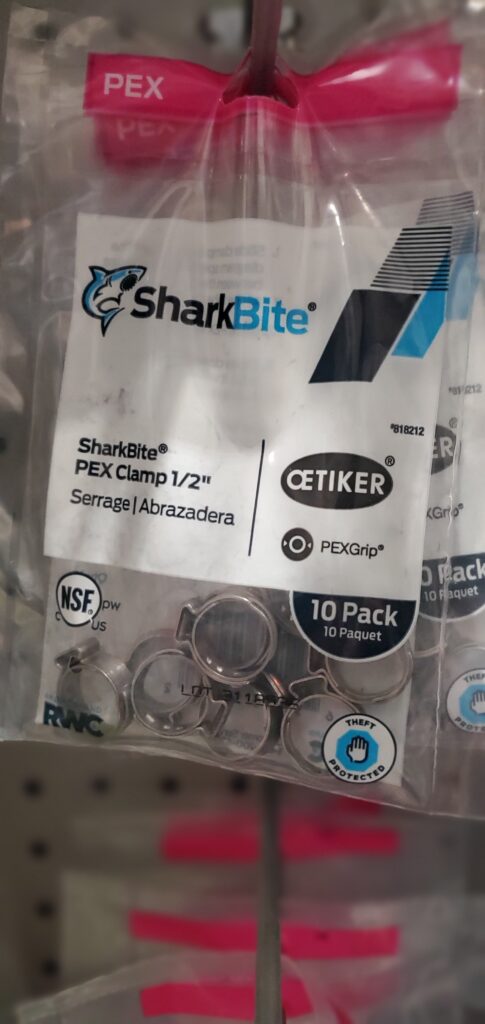
In fact, that is what all of your house trailers and RVs use these days. If I were going to build a house or upgrade some plumbing, I definitely suggest you look at the Pex system.
When you come across a busted pipe, there is a way to stop the leak until you can fully repair it during daylight hours or warmer weather. It is called a SharkBite fitting. Now, that is a brand name and there are a few different ones out there, but I think SharkBite is one that Lowes carries, or did the last time I used them.
I suggest you have a couple of these on hand; SharkBite 1/2 inch and 3/4 inch pipe end caps. You cut a piece of the bad pipe out with a pipe cutter or hacksaw, then sand and remove any burrs. Now, on the supply side, take and push or slide the correct size SharkBite cap over the end of your pipe, applying pressure to fully insert the end of the pipe into the cap.
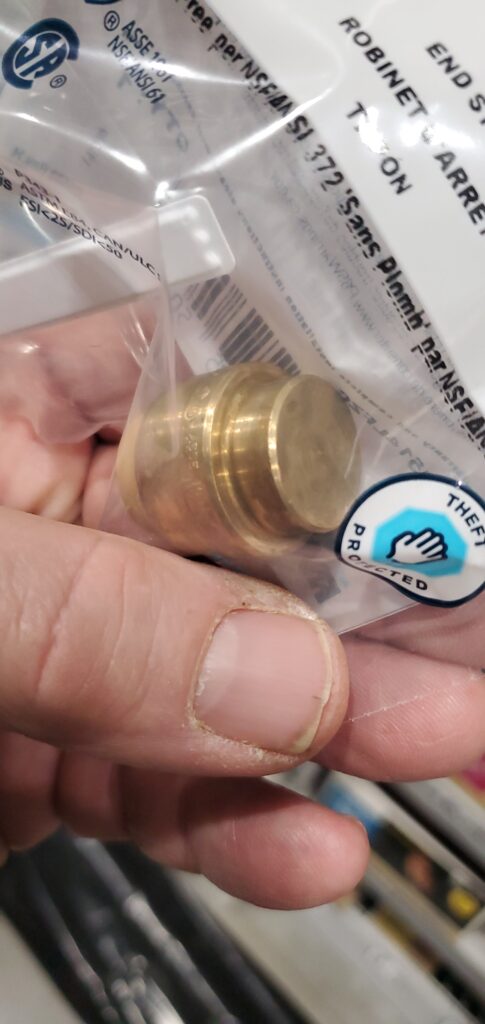
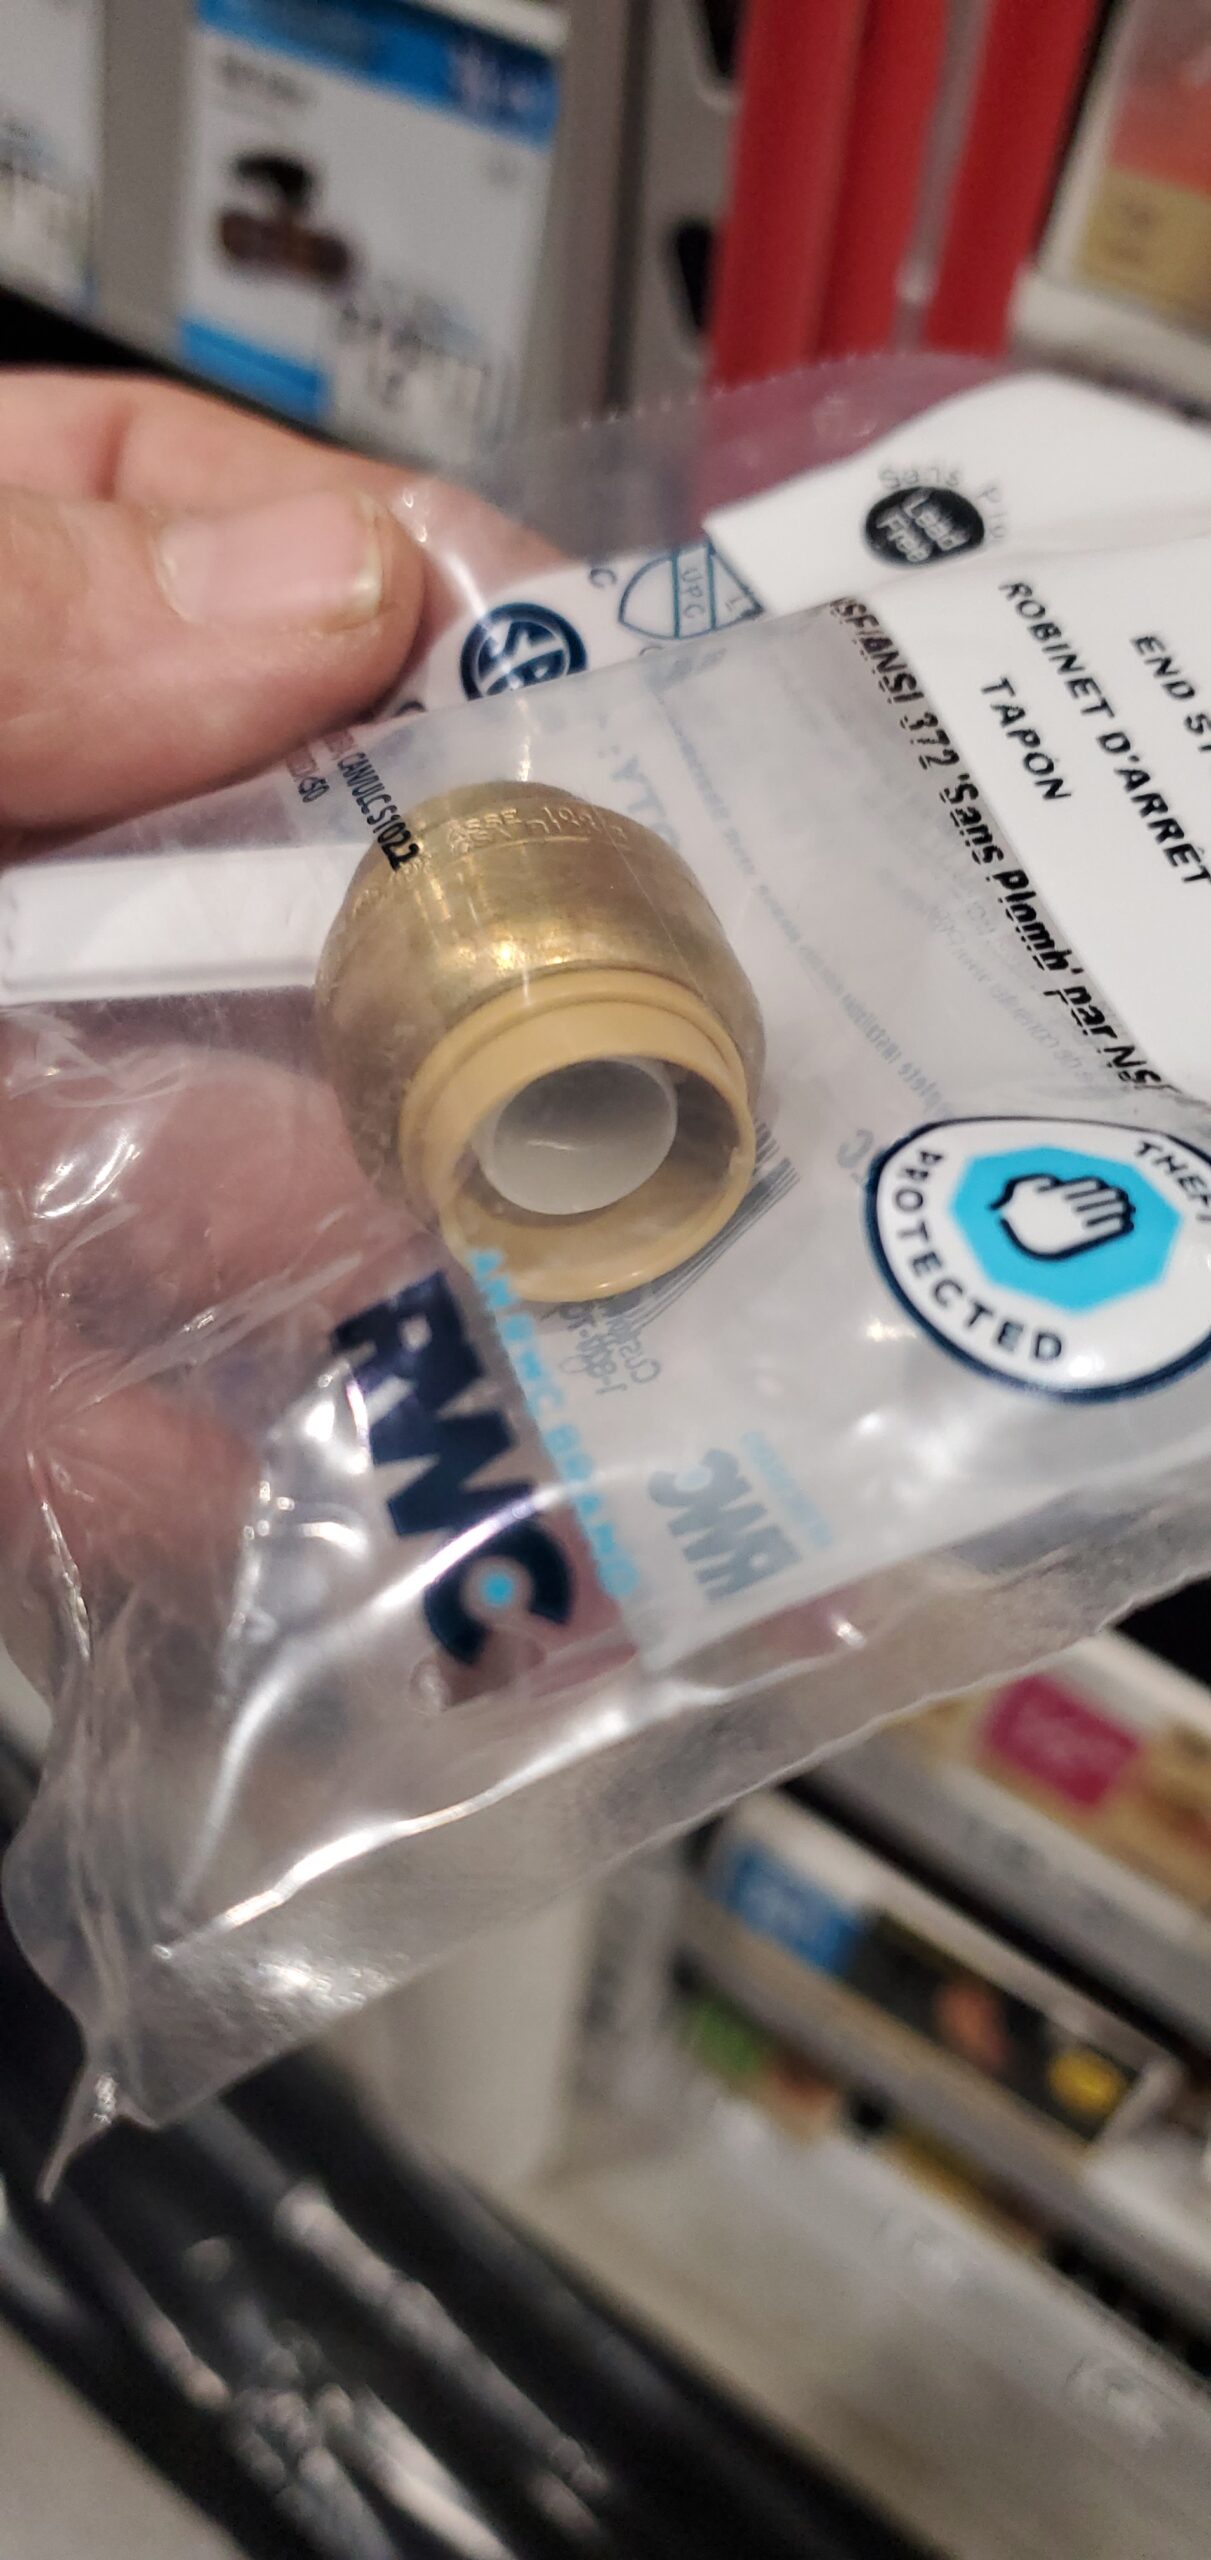
Then, slightly pull back as though you were going to remove it. The fitting will bite down and set…and you’re done! You can turn the water back on as long as you have installed the SharkBite cap on the supply side of your repair. Better yet, put a cap on both sides of the repair.
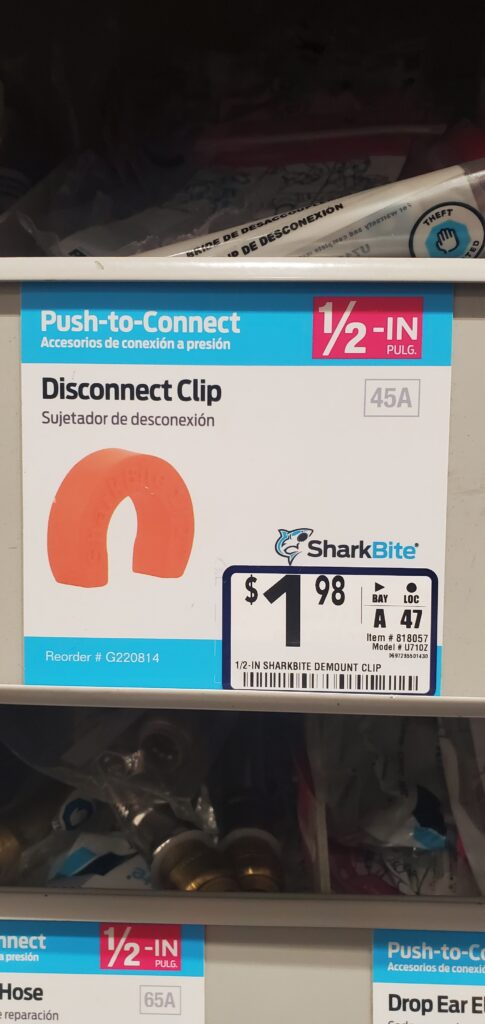
They will also work on PVC pipes and are a great way to transition from PVC to copper or Pex. When you purchase these SharkBites, also buy a couple of the small plastic horseshoe-shaped removal tools that will release the SharkBite when you return to complete the job. A must-have product to remove your SharkBite fittings!
A FEW OF THE OBVIOUS THINGS
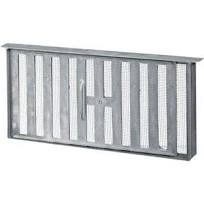
One of the things I always do in late fall is to walk around the house and close all of the vents in the foundation. They usually have a small tab that you can grasp and slide to one side or the other. One side is the open position, the other is the closed position. You want it closed during cold weather naturally, and open during nice weather to allow the crawl space to breathe; keeping moisture from building up under your house that could set-up mold, mildew, and eventually wood rot.
While you are around your house, take a look at your dryer vent. It’s a good idea to remove the cover and clean it out. This will make your dryer run more efficiently, and may even prevent a house fire occurring from lint build-up.
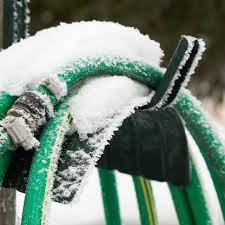
This is also a good time to drain and store your garden hoses; preferably in a heated or warm space. Speaking of garden hoses, let’s talk about hose bibs.

You can use those styrofoam toppers that would be better than nothing, but the best solution would be the freeze-proof hose bibs; extending a foot under your house. Hey, there would be a good time to try out those SharkBite connections!
Also, while you are out there, pay close attention to your windows and window casements. If you see any cracks or wide gaps in the caulking around them, it may be time to peel off the old caulk and re-caulk with new.
Oh yeah, I can’t talk about home maintenance without saying how important it is to keep your gutters cleaned out, and rainwater runoff away from your foundation. I am remodeling an old home now that is suffering from that very thing. Moisture found its way under the house and the termites followed. Mold and mildew set up and rot is taking over. I am having to replace seals, plates, and wall studs.
The old house had rocks for a foundation. I am jacking it up; laying a foundation under it room by room. I plan on showcasing it in another blog–My Old House.
